HaRGB version of the beautiful Gamma Cygni and surrounding nebulosity region.
NGC 6910 is a Y-shaped cluster oriented northwest southeast. The two brightest stars are of magnitude 7.NGC 6910 is a small cluster, only 10′ in diameter
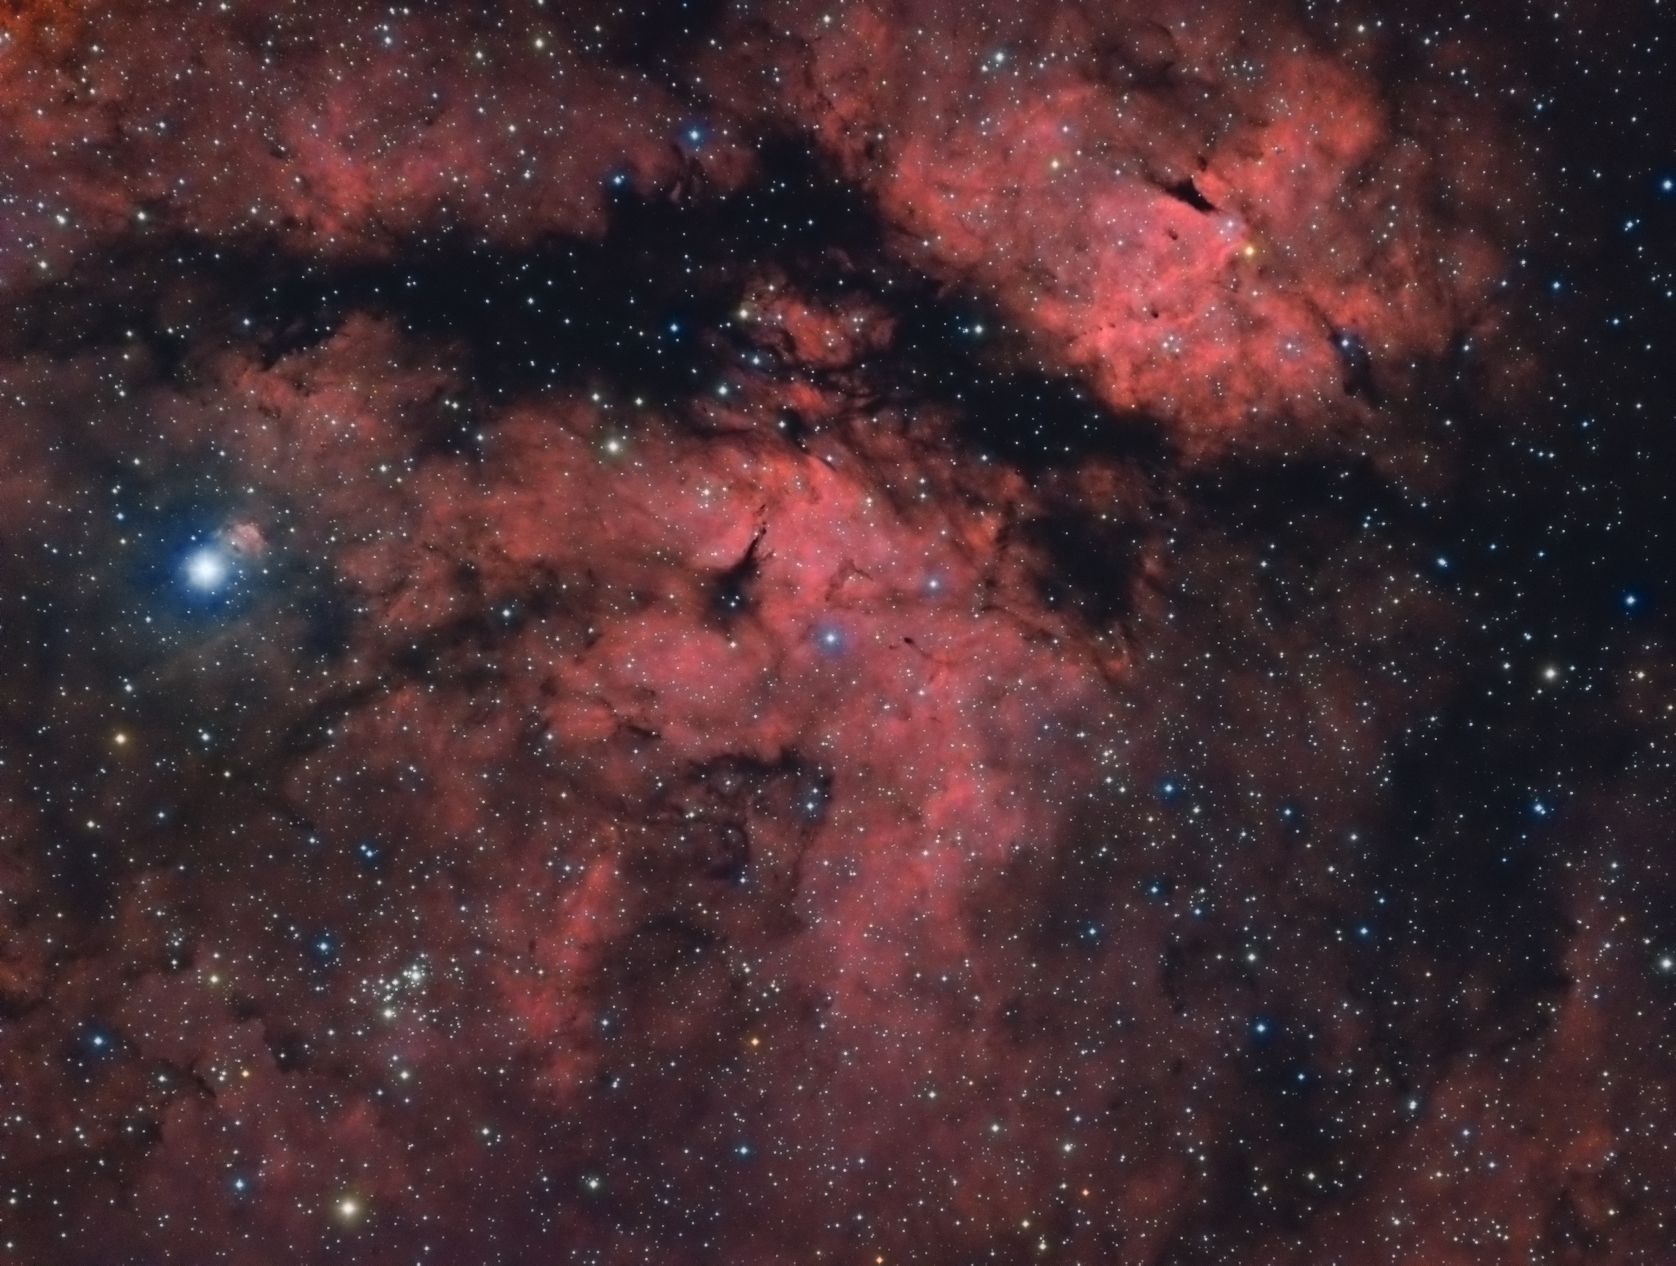
The southernmost star is SAO 49563 (or V2118 Cygni), a variable star of spectral type B1.5Ia. Gamma Cygni, not far off the galactic plane is subject to a great deal of interstellar extinction and reddening from interstellar dust. The dust selectively absorbs and scatters blue light (roughly 1/wavelength), so when you look at a star through dust it will appear redder than it really is (basically the same reason the sun is reddened at sunset). The intrinsic B-V color of a B1.5Ia super giant is -0.2. The observed color is 0.83, about the color of a K0 dwarf or a G5 giant, so the star appears yellowish to the eye. Notice the yellow stars in the cluster, caused by interstellar dust, and the bluish-white stars in the vincinity of NGC 6910.
Technical details
Sky-Watcher 80ED Pro Black Diamond
SBIG 8300M
HEQ5 Pro
QHY5
Skywatcher .85x Focal Reducer & Corrector
PixInsight, Main Sequence Software SequenceGeneratorPro
Accessories: Starlight Xpress Starlight Xpress FW 5*2”
Resolution: 1676×1266
Dates: June 13, 2015
Frames:
Baader 7nm Ha 2”: 10×300″ -5C bin 2×2
Baader Blue 2″: 10×120″ -5C bin 2×2
Baader Green 2″: 10×120″ -5C bin 2×2
Baader Red 2″: 10×120″ -5C bin 2×2
Integration: 1.8 hours
Darks: ~50
Flats: ~10
Bias: ~300
Avg. Moon age: 25.75 days
Avg. Moon phase: 15.29%
Bortle Dark-Sky Scale: 2.00
Temperature: 17.50
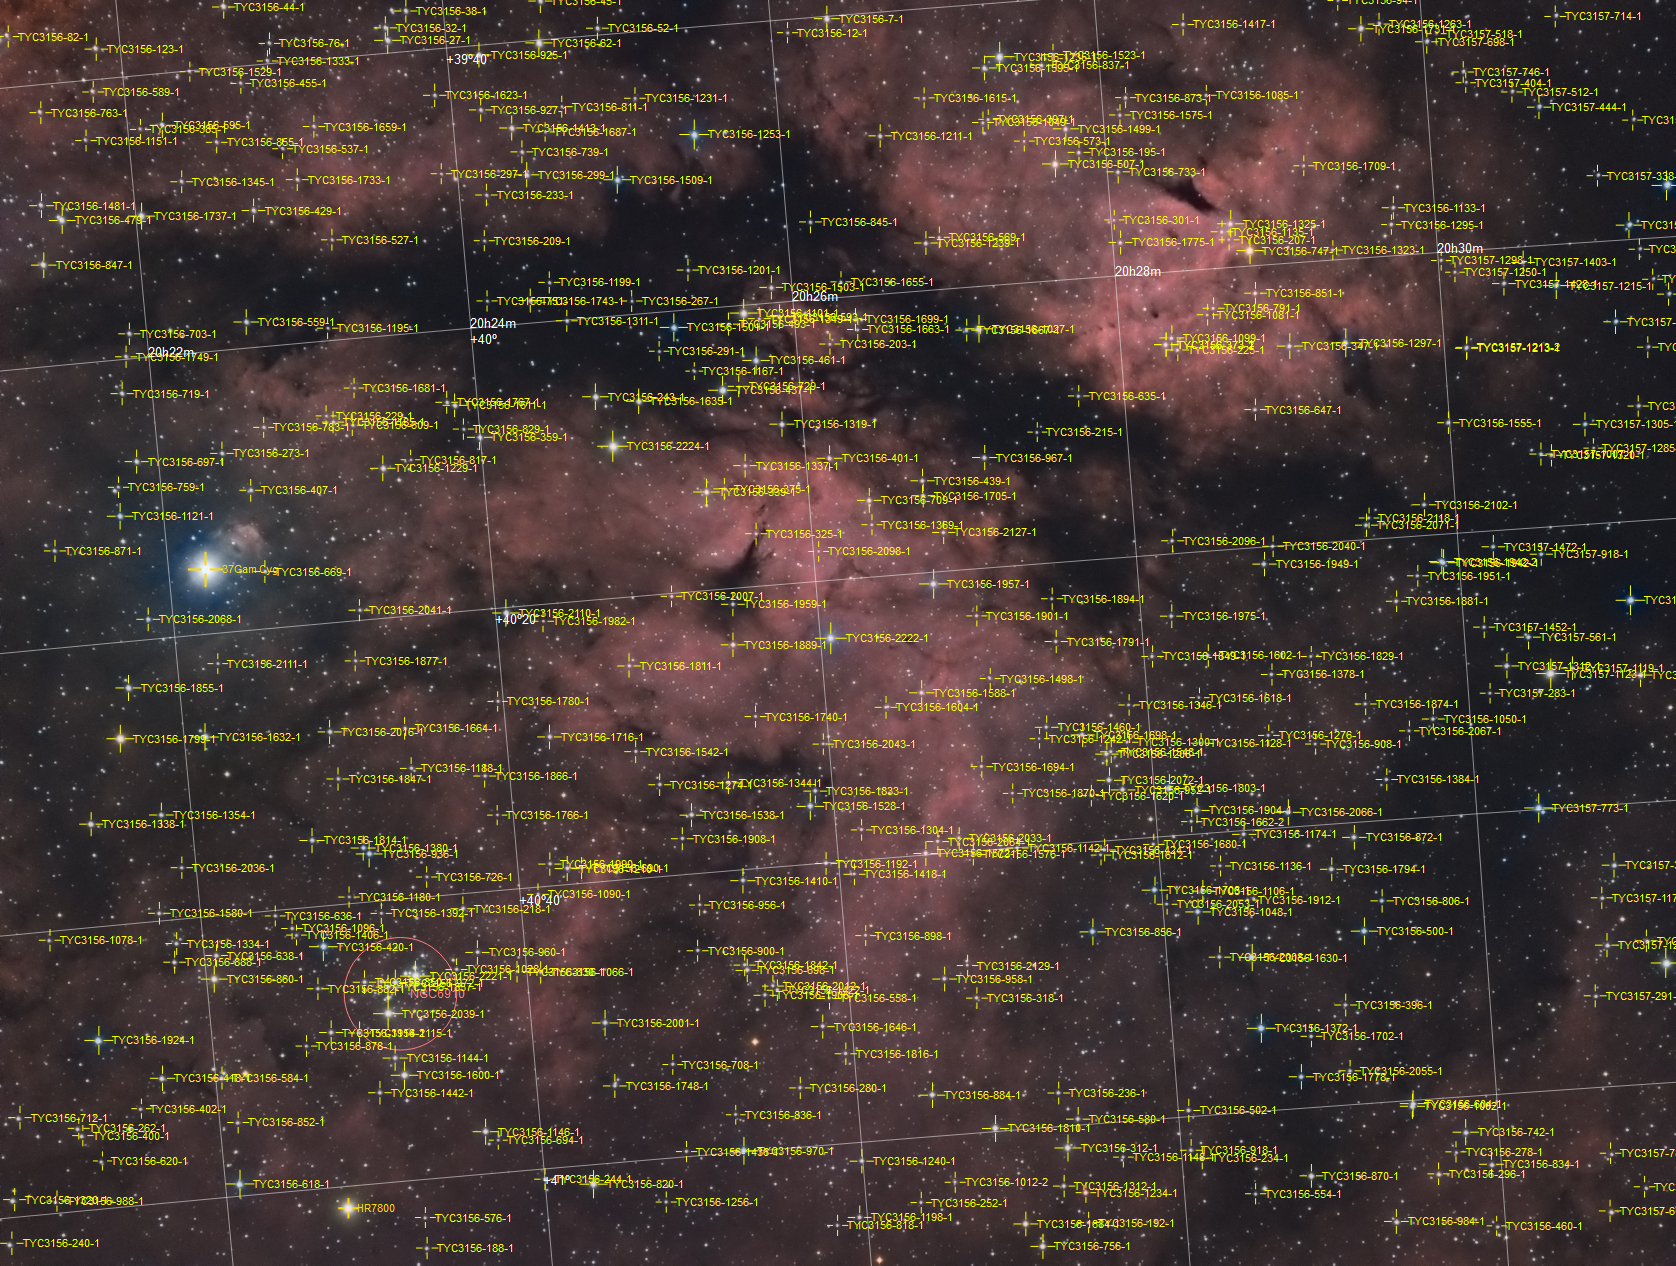
Annotated version :