Nikon D90 in astrophotography – sensor specifications

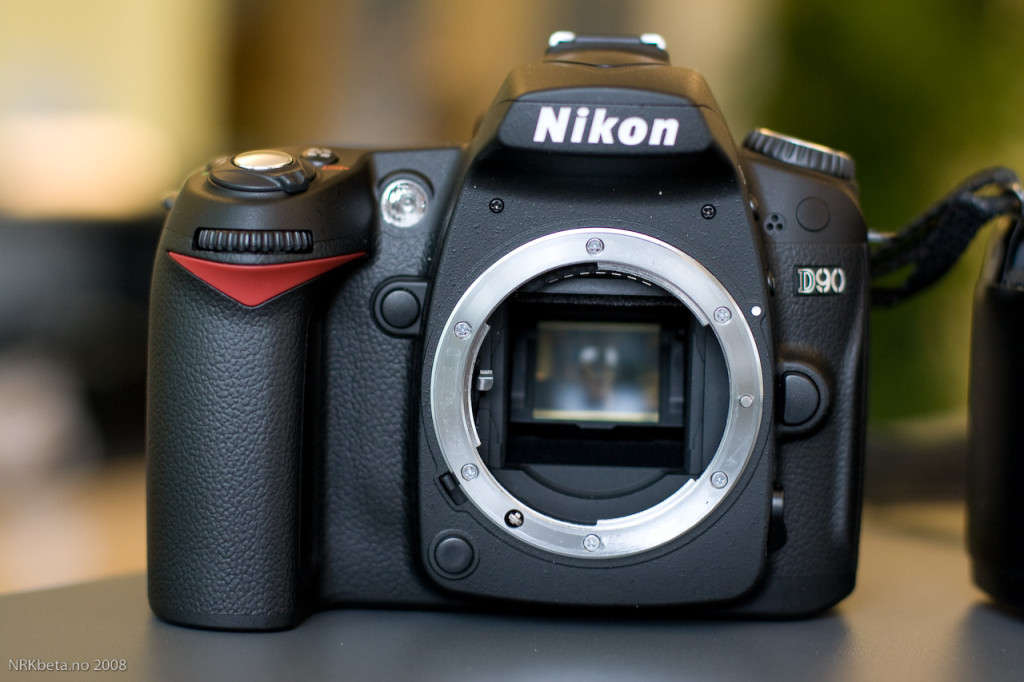
The Nikon D90 was a very popular DSLR back in 2008 when it was released and still is a substantial camera.
Using any camera in astrophotography gets you to a point where you need various details about the sensor, in order to calculate the Field Of View with a particular lens or telescope, be able to plate solve your astro images and a lot of other things.

Interestingly there was very little in-depth information about Nikon D90 Cmos sensor and its internals in general, so here is a list of all the info i have gathered over time for the particular model.


Nikon D90 Body

BrandNikon
ModelD90
Effective MegaPixels12.30
Sensor dimensions23.6 x 15.8 mm
Sensor typeCMOS
Sensor resolution4281 x 2873
Crop factor1.52
Diagonal28.40 mm
Surface area372.9 mm²
Pixel pitch (size)5.51 µm
Pixel area30.36 µm²
Pixel density3.29 MP/cm²
ISOAuto, 200 - 3200 (plus 6400 with boost)
Exposure Compensation±5 EV (at 1/3 EV, 1/2 EV steps)

The sensor has a surface area of 372.9 mm². There are approx. 12,300,000 photosites (pixels) on a NIKON D90 sensor.
Pixel pitch, which is a measure of the distance between pixels. Pixel pitch tells you the distance from the center of one pixel to the center of the next. Pixel size (pitch) is essential in astrophotography.
Pixel or photosite area is 30.36 µm². The larger the photosite, the more light it can capture and the more information can be recorded.
Pixel density tells you how many million pixels fit or would fit in one square cm of the sensor. Nikon D90 has a pixel density of 3.29 MP/cm².

One shot color camera sensors are usually arranged in a specific order, one of the most well known being the Bayer pattern.

Nikon D90 Bayer pattern


The Bayer pattern in Nikon D90 in case you have raw files that you need to manually de-bayer them is GBRG (Green, Blue, Red, Green)

DIY Telescope mount pier HEQ5 PRO

The bane of astrophotographers is, in my opinion, the routine of setting up and dismantling the gear on every session. As time accumulates this becomes a rather tiresome process, hindering the excitement of astrophotography where the need for really accurate polar alignment is paramount.

That is where a permanent installation, a.k.a pier comes into play (provided you are ok, to just securely cover up your gear for protection of the elements).

My mount is a skywatcher HEQ5 PRO Synscan, though the pier can host any type of mount by changing the top adapter.

The design had to comply with the following goals :
a) The leveling of the pier would be on the bottom and it would have to be massive for two reasons:
— Contrary to popular belief, the top does not have to be level. It is better to have a really stiff top since you will be doing drift alignment anyway with a permanent setup.
— There is no point, mechanically speaking, to mount a 40kg steel tube on M13 rods (there alot of tops in the internet with M13 bolts for adjustments which just scream flexure with anything heavier than an ED80 and even more so the same goes for the bottom design
b) There would be no holes in the rooftop in order to protect the water seal in the construction.

So here is the photo story of the building!

Measuremements of the baader adapter for HEQ5 PROTaking the approppritate mesurements for the fitting the HEQ5 PRO head adapter to pier’s top plate.


Preparing the top plate of the pier HEQ5 PROUber lathe work on aluminium by my brother in law (Thanks Tom!)

Finalized top plate of the pier Finished product, top plate ready to be welded on the tube.

Top plate with baader heq5 pro mount adapter test fittingTesting the fit 🙂

Base plate welding for the pierWelding the M30 threaded bars to the base plate. By Tom of course!

Pier top finishedThe pier is ready

Finished pier top to bottom viewAnother view of the finished pier.

Transporting the pierThe pier and the base plate ended up weighing some 75kg, which we had to haul in the 5th floor (rooftop) by the stairs since there is no elevator yet 😀

Ready for the fumes!Oil paints, 2 part epoxy glue, white spirit solvents and in general chemicals require some kind of protection. Thus the mask for the fumes and the glass (i am nearsighted(myopia) but they work as protection from splinters, most of the time at least..)

Materials for the gluing and paintingVarious assortments for gluing, sanding and painting of the pier

Two-Part Resin Epoxy Glue preparation2 part epoxy cement. Yes, this stuff is from hell so do wear gloves, berathing mask and general protection.


Base plate "tagging"The base plate orientation was tagged with white spray the previous night after a rough polar alignment.

IMG_20150604_225232Finally ready after two hands of oil painting, sanding in between and gluing the base plate to the floor. By the way the 2 part epoxy resin turned out to be massively better than its description. After allowing the 24 hour requirement for it to be properly cured i would need some kind of demolishing device to remove the base from the floor!

Mad design skills for the eyepiece - accessory holderSuper design skills at work here in order to make the blueprint for the holes and cuts needed on the plexiglass accessory tray.

Finished pier ready to receive the HEQ5 PRO mount head


Finished pier ready to receive the HEQ5 PRO mount head with controllerFuture upgrade plans include building a proper astronomy shed – observatory around it but that will have to wait for a while 😀

Kudos to Tommy, for the help!

NGC2237 Rosette Nebula in HA

NGC2237_ROSETTE_HA_FINAL_C

A quick go on this spectacular nebula, as it is currently too low on the horizon for serious light gathering.
I hope next year’s weather will allow more data!

Target details
The Rosette Nebula (also known as Caldwell 49) is a large, circular H II region located near one end of a giant molecular cloud in the Monoceros region of the Milky Way Galaxy. The open cluster NGC 2244 (Caldwell 50) is closely associated with the nebulosity, the stars of the cluster having been formed from the nebula’s matter.
The complex has the following NGC designations:
NGC 2237 – Part of the nebulous region (Also used to denote whole nebula)
NGC 2238 – Part of the nebulous region
NGC 2239 – Part of the nebulous region (Discovered by John Herschel)
NGC 2244 – The open cluster within the nebula (Discovered by John Flamsteed in 1690)
NGC 2246 – Part of the nebulous region

The cluster and nebula lie at a distance of some 5,200 light-years from Earth (although estimates of the distance vary considerably, down to 4,900 light-years.) and measure roughly 130 light years in diameter. The radiation from the young stars excites the atoms in the nebula, causing them to emit radiation themselves producing the emission nebula we see. The mass of the nebula is estimated to be around 10,000 solar masses.
It is believed that stellar winds from a group of O and B stars are exerting pressure on interstellar clouds to cause compression, followed by star formation in the nebula. This star formation is currently still ongoing.
A survey of the nebula with the Chandra X-ray Observatory in 2001 has revealed the presence of very hot, young stars at the core of the Rosette Nebula. These stars have heated the surrounding gas to a temperature in the order of 6 million kelvins causing them to emit copious amounts of X-rays.

Gear used

Sky-Watcher 80ED Pro Black Diamond
SBIG 8300M
HEQ5 Pro
Guiding camera: QHY CCD QHY5 mono
Focal reducer: Skywatcher .85x Focal Reducer & Corrector
Filters: Baader 7nm Ha 2”
Starlight Xpress Starlight Xpress FW 5*2”

Processed in PixInsight

Resolution: 1743×1380
Dates: April 12, 2015
Frames: Baader 7nm Ha 2”: 10×600″ -5C bin 2×2
Integration: 1.7 hours
Darks: ~20
Flats: ~20
Bias: ~20
Avg. Moon age: 21.98 days
Avg. Moon phase: 51.77%
Bortle Dark-Sky Scale: 3.00
Temperature: 3.00
Locations: Amarynthos obs, Amarynthos, Evia, Greece